Want to add a new blog post on your WordPress website?
Here’s a simple guide to our readers step by step that how you can add or insert a blog without taking help of your developer.
How? Let’s Start!
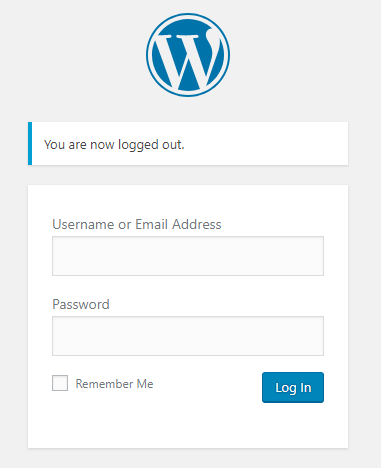
Step 1: Go to your WordPress login panel, put logging information and click on login.
Now, you’ll see all activity of your site at the left sidebar in vertical shape on dashboard.

Step 2: Tab Posts then click Add New
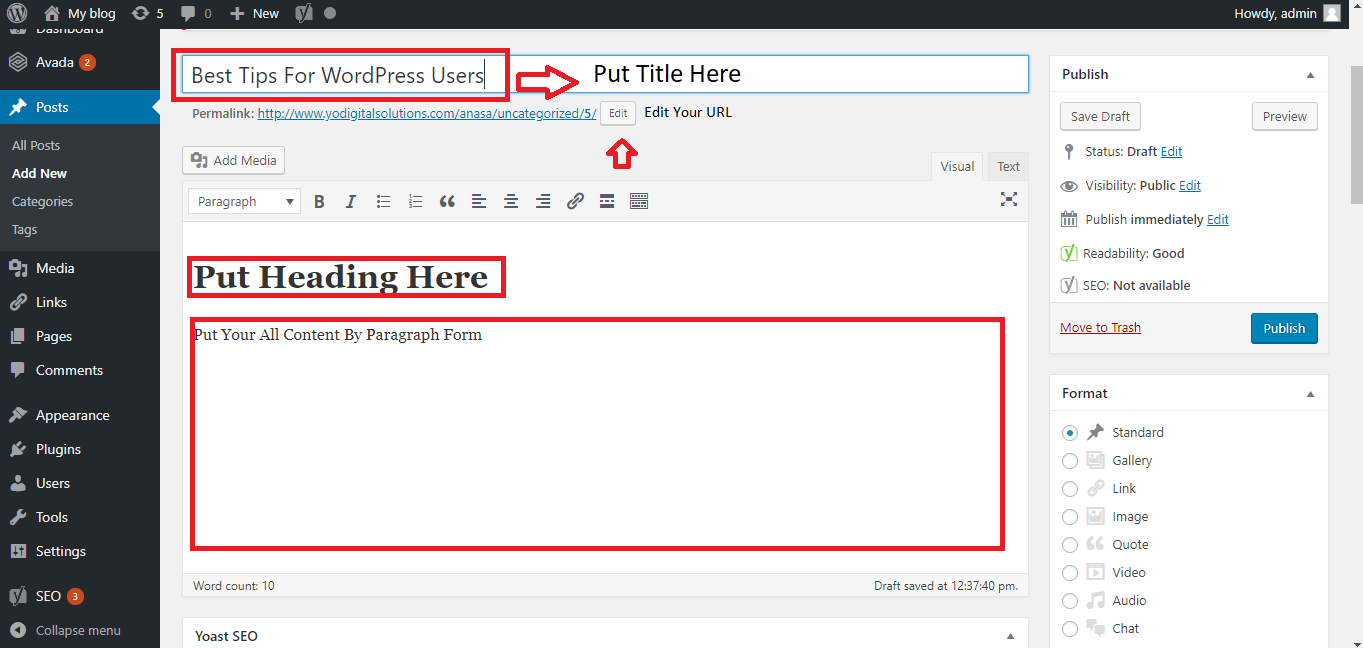
Step 3: This image showing what you’ll do in the next step. Enter your Topic or Title with the help of above image. Also, you can edit your URL and it should be similar or same to your Title.
After that you can see below a space, in this white space, you can put all your material with Headings and Content what you want to show your audience.
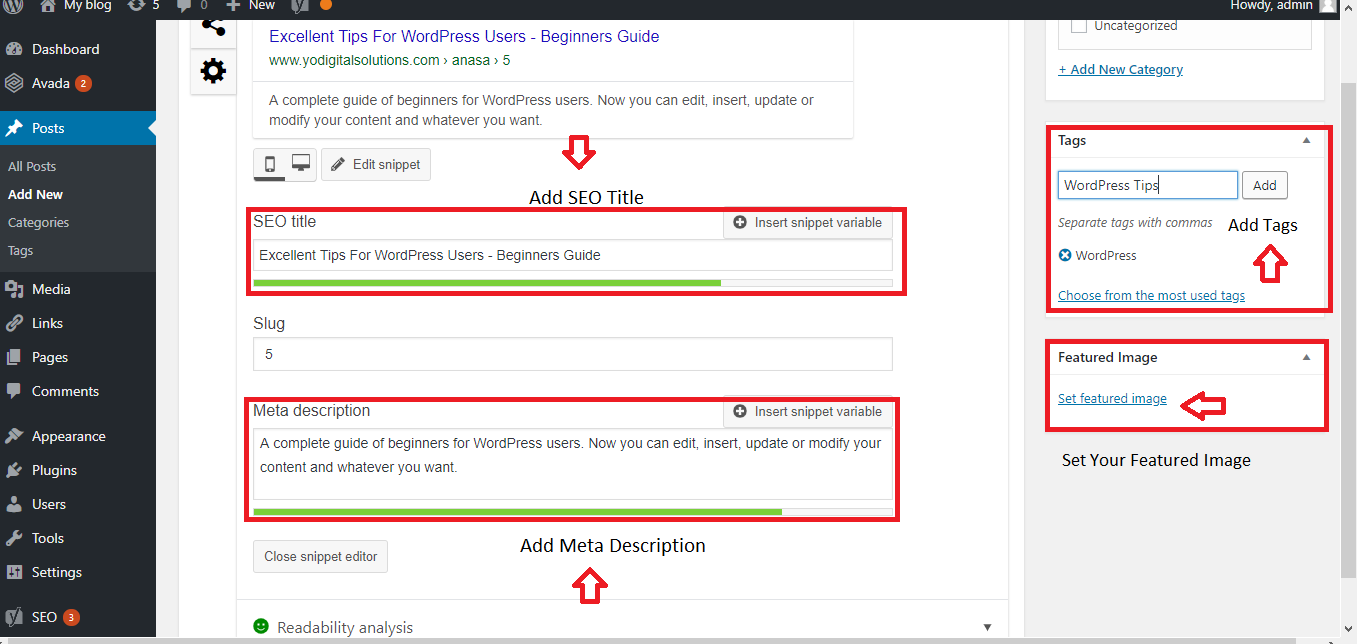
Step 4: In this step, write the SEO Title & Meta Description of your blog post to show your page awareness in Google and attract more customers by adding different keywords in your Meta’s.
Step 5: Also, add the Tags of similar keywords of your post and set Featured Image at the right side you can see.
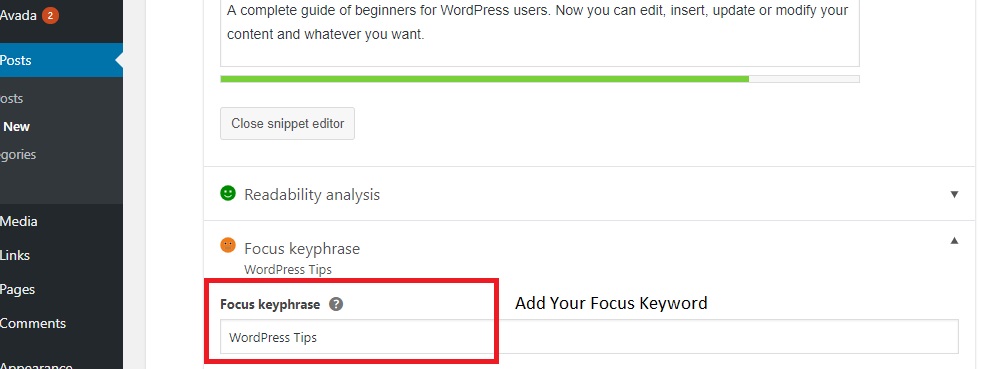
Step 6: Add the focus keyword related to your blog’s post.

Step 7: After all steps completed, remember always preview your post before publishing a blog.

Step 8: After all set, don’t wait to publish your post for reaching the customers.
Here’re the easy steps for adding a new blog post in your WordPress website. Stay tuned with Techzo for more tips.


